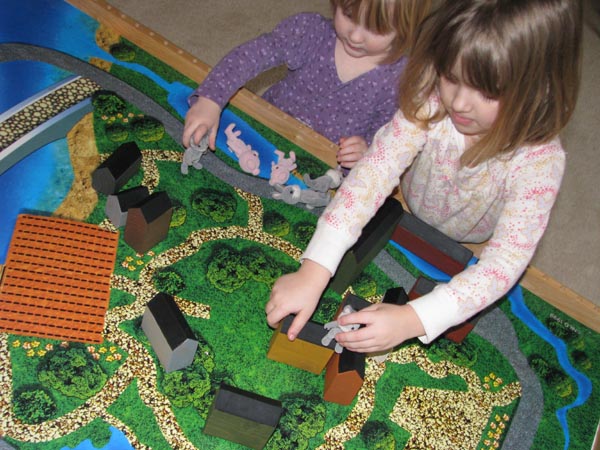
Now that we are done cutting, sanding, and painting the All Natural “Building” Blocks, it’s time for my favorite part… finishing the blocks. Because wood will dry out over time causing cracks and splitters, it’s a good idea to protect the blocks in some way. There are 2 different ways of approaching this. First, you can “seal” the blocks with an impermeable layer that will prevent moisture from escaping from the wood. Products like varnishes and polyurethanes fall into that category. In my mind, the problem with that is twofold. First, most are toxic to some degree. Considering these are meant as toys, they will be in the hands and mouths of wee ones. Not desirable! Also, these sealants provide an outside coating, and through play, especially with soft woods, chips will occur and the protective properties will begin to diminish.
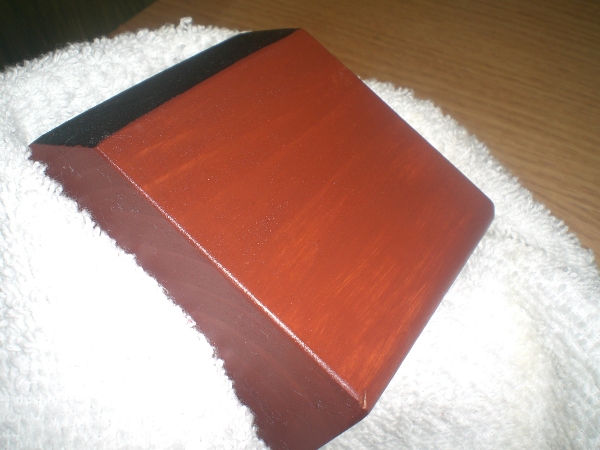
The other way to protect the wood is to apply an oil and wax coating on the outside of the wood. Instead of sealing the wood, you are conditioning the wood. By applying oil to the wood, it will seep down into the wood bringing moisture to its fibers. Then, after the oil has seeped into the wood, you apply a wax layer to the outside which helps prevent, or rather slow down, the loss of moisture from the wood. (Below I will share a recipe that combines these 2 steps.) There are a couple of possible disadvantageous to this process. First, it usually darkens the wood, as the oil seeps in. I personally think this creates richer tones, but it is a matter of taste.
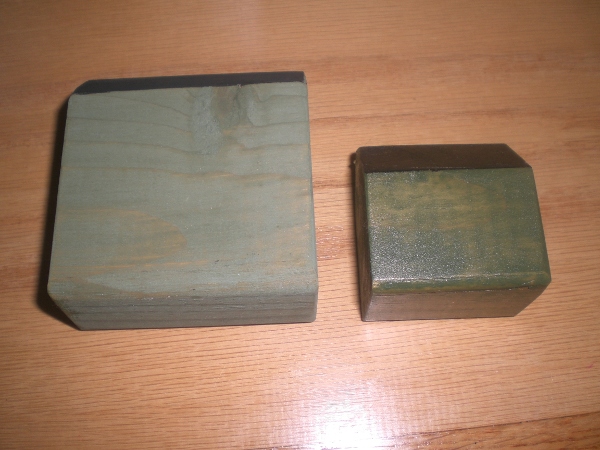
Also, you will need to re-wax the wood occasionally. This finish is not as tough as a varnish, and the wood can begin to dry out. At that time you will need to repeat the process. But I think that is a small price to pay for the rich patina of this type of finish, and the most obvious advantage… it is entirely non toxic and safe for even the youngest child!
If you do decide to use a varnish or polyurethane make sure you get one that is labeled “non toxic” and “safe for children”. If you want to use a natural, organic finish, I’ve included my recipe and directions for use. I purchase my olive oil locally, but I order my beeswax from EBeeHoney.
Olive Oil (Jojoba) and Beeswax Wood Finish Recipe
(I use a 4:1 ratio of olive oil to beeswax)
NOTE: You can use Olive Oil or Jojoba oil. Both are natural. I use to use olive oil. The advantage is it is cheaper and readily available. The disadvantage is it can become rancid over time causing the finish to have a “stale” smell. I moistly use jojoba oil now.
Pour 4 ounces of olive oil into a 2 cup Pyrex measuring cup. Add enough shaved beeswax to reach the 5 ounce mark on the measuring cup. (You’ll be adding 1 ounce of beeswax to the oil. This is just a quick and easy way to measure the beeswax.) An easy way to make shavings is to freeze the solid beeswax then use a food grater.
Melt the mixture in the microwave for 1 1/2 – 3 minutes, until the wax is melted. Obviously, be careful because the oil is very hot.

The hot oil can be applied to the wood while it is in liquid form using a brush. Or, you can wait until the oil has cooled and becomes a firm paste, similar to Turtle Wax. I prefer to wait until it has cooled. Now, there is no chance of burning yourself, so a must if the children are helping you, plus it’s the only craft I do that is actually good for my hands. I forgo a cloth, and apply the paste directly to the wood using my hands! The beeswax and olive oil are like a manicure treatment at the finest salons!
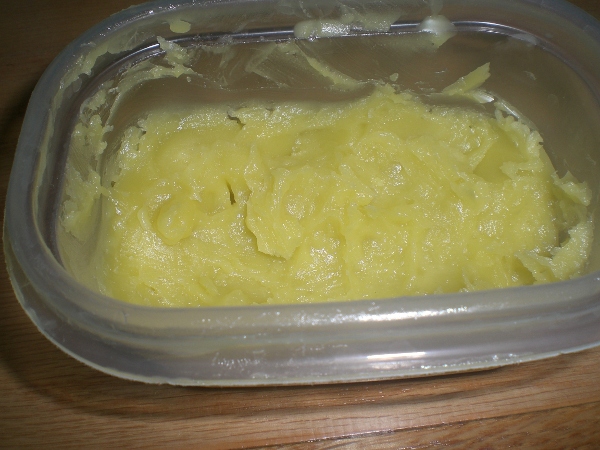
To store the olive oil and beeswax finish, place in an airtight contain and store away from direct sunlight. When you are ready to reuse, simple slather it on the wood as a paste, or if you prefer working with it in the liquid form, heat it in the micro wax just until it is melted.
To finish our blocks, either “paint” the liquid on blocks making sure to cover all surfaces, or if using a paste, use your hands or a rag to scoop the paste out of the container and work it into the wood.
Apply the oil or paste liberally, making sure you have total coverage. Apply enough so you leave a film similar to applying lip gloss.
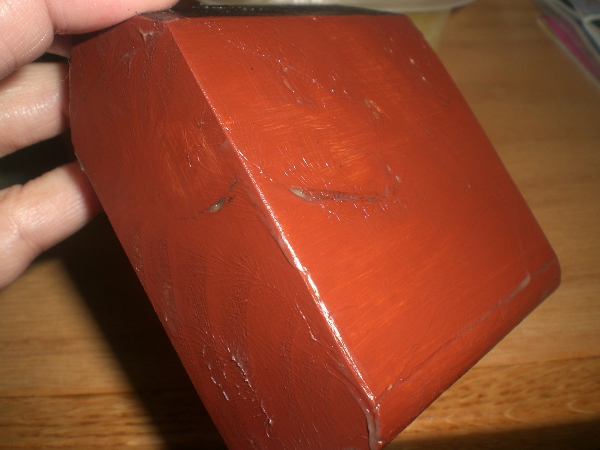
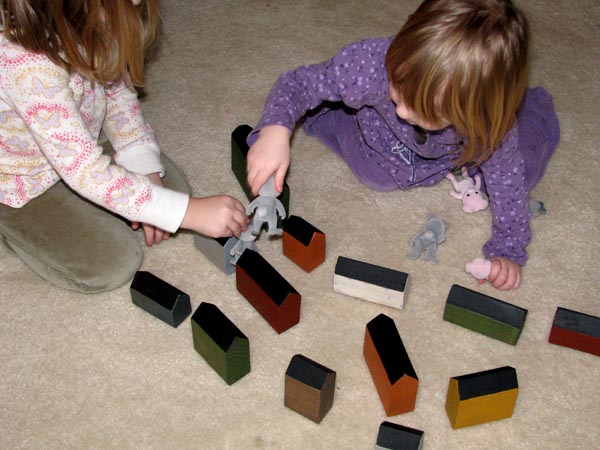
Let the finish sit on the wood 1 – 2 hours. Use rags to wipe off the excess finish then buff with a clean rag. Wait a day or two and check the wood. If it seems dry to you, you can repeat the above steps one or two more times, waiting a day between each process. The wood should have a nice smooth feel without being greasy. Make sure the wax coating is worked into the wood. You should not leave behind fingerprints. The blocks are now ready to be played with.
Occasionally, you will need to re-polish the blocks. But remember, when they are played with, the oil from hands helps to keep them supple! So just check them regularly for drying, and re-polish as necessary following the steps above.
Note: The rags can be washed and reused. Because they will have oil and wax on them, I like to use very hot water plus a teaspoon of Lystoil in the washing machine, plus your normal detergent. The oil in the Lystoil helps break down the oil in the rags. I then run a cycle without anything in the washer to help remove any oil or wax residue. I follow by washing a load of towels before I wash our clothes. Probably overkill but safe!


